Backed And Cracked Ranch Chicken Breast
Welcome to your new favorite chicken recipe!
I don’t know about you, but sometimes I just want something easy, delicious, and full of flavor, without spending hours in the kitchen.
That’s exactly why I’m sharing this Backed And Cracked Ranch Chicken Breast recipe with you today. Trust me, it’s the kind of meal that’ll make you look like a total pro, but it’s super simple to whip up!
You know how picky eaters can be, right? Well, this one checks all the boxes. It’s juicy, tender, and has that irresistible ranch flavor we both love.
The best part of it? It’s totally customizable! You can add extra spices or tweak the ranch to your liking; no rules here.
I get it, cooking can sometimes feel like a chore, but this recipe is a game-changer. It’s perfect for busy nights when you want something quick and satisfying.
And you’re going to love how easy it is to clean up afterward (because who wants to do dishes for hours, right?).
I’m seriously so excited for you to try this out. If you’re looking for a new go-to meal that’s full of flavor but light on effort, this is it. You and I both deserve a tasty dinner without all the stress, don’t you think?
Let’s go to the kitchen!
How to Make Baked and Cracked Ranch Chicken Breast

This is a totally straightforward recipe that anyone can make, even if you’ve never cooked chicken before.
Just follow these easy steps, and you’ll be eating a delicious dinner in no time.
Ingredients You’ll Need
- 4 boneless, skinless chicken breasts
- 1 packet of ranch seasoning (you can go for the classic or a spicy version, your choice!)
- 1 cup of breadcrumbs (Panko works wonders for crunch!)
- 1/2 cup grated parmesan cheese
- 1 tablespoon olive oil
- Salt and pepper, to taste
- 1 tablespoon garlic powder
- 1/2 teaspoon paprika (for a little color and flavor)
- Fresh parsley (optional, for garnish)
👉These 10 meals are getting all the love right now. Want them? [Grab the free PDF!]
Step-by-Step Instructions
Step 1: Preheat the Oven
Preheat your oven to 400°F (200°C). It’s like setting the stage for the magic to happen. While it’s warming up, get your chicken breasts ready.
Step 2: Prep the Chicken
Take the chicken breasts and season both sides with a pinch of salt, pepper, garlic powder, and paprika.
You want those flavors to start coming through before they even hit the oven. Nothing too fancy, just a little sprinkle of love.
Step 3: Prepare the Coating
In a shallow bowl, combine your ranch seasoning, breadcrumbs, and parmesan cheese.
This is where the “cracked” part comes in, this coating will give your chicken that crispy, ranch-flavored crust. So, go ahead and mix it up real nice.
Step 4: Coat the Chicken
Dip each chicken breast into the ranch-breadcrumb mixture, pressing down a little so it sticks.
You want a nice, even coat, but don’t stress if it’s not perfect. A little unevenness adds to the rustic charm, right?
Step 5: Bake the Chicken
Place the coated chicken breasts on a baking sheet lined with parchment paper or foil. Drizzle the chicken lightly with olive oil to help with the crisping.
Then, put them into the oven and bake for 25-30 minutes or until the chicken reaches an internal temperature of 165°F (75°C).
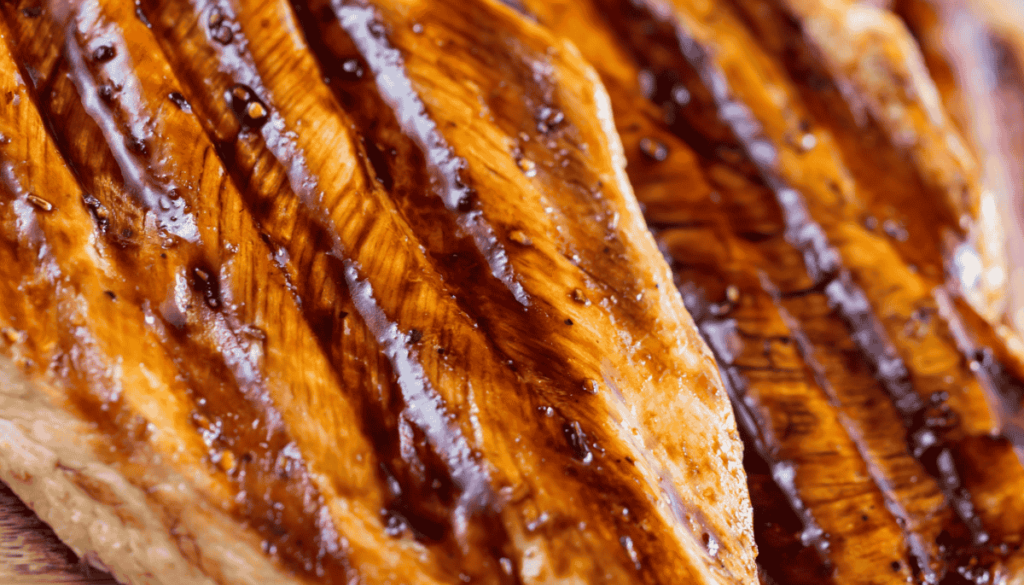
You’ll know it’s done when it’s golden brown and crispy on the outside, yet juicy on the inside.
Step 6: Serve and Enjoy!
Once the chicken is done, let it rest for a few minutes before serving. Garnish with a sprinkle of fresh parsley, and enjoy!
👉These 10 meals are getting all the love right now. Want them? [Grab the free PDF!]
Common Mistakes to Avoid
Let’s be honest, sometimes we all make a slip-up or two in the kitchen. Here’s how to avoid a few common mistakes:
⒈ Overcooking the Chicken: Chicken can get dry if you cook it for too long. Make sure to use a meat thermometer to check that it hits 165°F (75°C). Trust me, this will keep it juicy and tender.
⒉ Not Pressing the Coating Down Enough: If you don’t press the breadcrumb mixture onto the chicken, it might not stick as well. Give it a gentle press to make sure it sticks and crisps up beautifully.
⒊ Skipping the Resting Time: Don’t skip the resting time after the chicken comes out of the oven. Let it rest for about 5 minutes to lock in the juices, or you’ll lose all that yummy moisture when you cut into it.
Recipe Best Tips
- Add a Little Kick: If you like spice, add some cayenne pepper or chili powder to the ranch seasoning mix. It’ll take your chicken to a whole new level!
- Make It Extra Crispy: For even crispier chicken, bake it on a wire rack. This helps air circulate all around, making the coating extra crunchy.
- Use Chicken Thighs: If you’re not into chicken breasts, swap them for boneless, skinless thighs. They’re a bit more forgiving and extra juicy.
Serving Suggestions
Here’s the fun part: how to serve this amazing chicken!
- With a Salad: Serve it on top of a fresh salad with ranch dressing or a tangy vinaigrette. The crispy chicken adds a nice contrast to the veggies.
- On a Bed of Rice: Place it on a bed of creamy mashed potatoes or rice for a heartier meal. Trust me, the juices from the chicken are perfect for soaking up with a side of mashed potatoes.
- Pair it with Veggies: Roasted veggies, like asparagus or broccoli, make a great side dish. Or, if you’re feeling lazy (no judgment here), some frozen veggies work just fine.
👉These 10 meals are getting all the love right now. Want them? [Grab the free PDF!]
Storage and Freezing
① Storing: Store any leftovers in an airtight container in the fridge for up to 3-4 days. It reheats well, especially if you put it in the oven to get that crispiness back.
② Freezing: To freeze, wrap the cooked chicken breasts in foil or freezer-safe bags and store them in the freezer for up to 3 months. When you’re ready to eat, thaw overnight in the fridge and reheat in the oven.
Frequently Asked Questions (FAQs)
Q1: Can I use bone-in chicken for this recipe?
A1: You can, but you’ll need to adjust the cooking time since bone-in chicken takes longer to cook. Aim for about 40-45minutes in the oven.
Q2: Can I make this recipe ahead of time?
A2: Yep! You can prep the chicken and coat it in the breadcrumb mixture ahead of time. Just store it in the fridge and bake it when you’re ready.
Q3: Can I use a different seasoning?
A3: Absolutely! You can mix up the ranch seasoning with other seasonings like taco seasoning, Italian seasoning, or even buffalo sauce for a different flavor.
Q4: How can I make the coating healthier?
A4: Swap the breadcrumbs for whole wheat breadcrumbs, or even crushed up almonds for a low-carb option. You can also skip the parmesan if you’re looking for a dairy-free version.
Q5: What should I serve with this chicken?
A5: Anything! Serve it with a side of veggies, mashed potatoes, or even a pasta salad. The options are endless!
Q6: Can I bake this at a lower temperature?
A6: Sure! You can bake it at 350°F (175°C), but the cook time will be a bit longer—around 35-40 minutes.
Q7: Can I use frozen chicken breasts?
A7: It’s best to thaw the chicken before cooking for the best results, but if you’re in a rush, you can cook them from frozen. Just add about 10-15 extra minutes to the cook time.
Conclusion
And there you have it! A perfectly crispy, ranch-flavored chicken breast that’s super easy to make and absolutely delicious.
Whether you’re meal prepping for the week or serving dinner for your family, this recipe is guaranteed to impress.
Let me know how it turns out in the comments—I’d love to hear your take on it!
👉These 10 meals are getting all the love right now. Want them? [Grab the free PDF!]
You Might Also Want To Try
- Cheese and Creamy Garlic Chicken Wraps
- Chicken Cordon Bleu Casserole
- Greek and Grilled Chicken Marinade
———–
⤵⬇
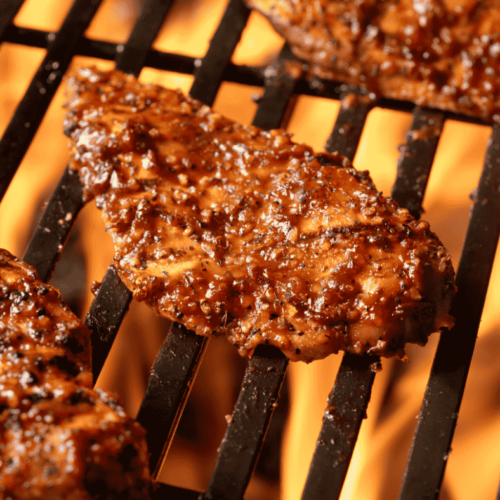
Backed and Cracked Ranch Chicken Breast
Ingredients
Ingredients List:
- 4 boneless skinless chicken breasts
- 1 packet ranch seasoning mix
- 1 cup breadcrumbs use gluten-free breadcrumbs for a GF version
- 1/2 cup grated Parmesan cheese
- 1/2 cup mayonnaise you can substitute with Greek yogurt for a lighter version
- 1 tablespoon olive oil or melted butter for extra richness
- Salt and pepper to taste
Key Substitutions:
- Breadcrumbs: You can use crushed crackers or panko for a different texture.
- Mayonnaise: Swap with sour cream or plain yogurt for a tangy twist.
- Parmesan cheese: Try using a different hard cheese like Romano or Asiago for a unique flavor.
Instructions
How to Cook the Backed and Cracked Ranch Chicken Breast: A Step-by-Step Guide
Preheat your oven – Set your oven to 375°F (190°C). We want it nice and hot to get that crispy, golden crust on the chicken!
Prep the chicken – Grab your chicken breasts and give them a quick rinse. Pat them dry with paper towels to help the seasoning stick. Don’t skip this step, or the ranch will just slide right off!
Mix the magic sauce – In a bowl, combine the ranch seasoning mix and mayonnaise (or Greek yogurt). Stir it up until it’s smooth. This is your secret sauce, so don’t hold back on the ranch flavor!
Coat the chicken – Spread the creamy ranch mixture over each chicken breast. Make sure every inch is covered—you want that delicious flavor in every bite!
Prepare the breadcrumb mix – In another bowl, mix the breadcrumbs, Parmesan cheese, salt, and pepper. This is the crispy coating that’ll make your chicken extra special.
Coat the chicken with breadcrumbs – Take each ranch-covered chicken breast and press it into the breadcrumb mixture. Make sure it's nice and coated. No one likes a bare spot!
Bake it – Place the chicken on a baking sheet and drizzle a little olive oil (or melted butter) on top to help it crisp up. Pop it in the oven and bake for about 25-30 minutes, or until the chicken reaches 165°F (75°C) inside.
Let it rest – Once it’s out of the oven, let your chicken rest for a couple of minutes before serving. This helps lock in all those juicy flavors. You did it! You’re a pro now.
- Enjoy your Backed and Cracked Ranch Chicken Breast with a side of veggies, potatoes, or whatever makes your taste buds happy! 🍽️
Notes
- Make sure to dry your chicken thoroughly to ensure the coating sticks well.
- Feel free to experiment with different seasoning mixes for a custom flavor.
- You can use chicken thighs for a juicier option or try gluten-free breadcrumbs for a gluten-free version.
